Metal flashing sealed, resealed and warrantied across Ward County
Roof Flashing Repair Surrey ND That Stops Leaks Cold
Roof Flashing Repair Surrey ND is the fastest way to kill a leak that keeps coming back. We pull the old metal, check the ice and water shield underneath, and rebuild the joint so water runs off instead of into your attic. If you have a stain on the ceiling near a chimney, vent pipe or valley, that is flashing nine times out of ten. We handle roof flashing fix work across Surrey and Ward County, and we can usually get eyes on it the same day you call.
Live phone supportUpfront optionsBacked workmanship
What's included
What A Flashing Repair Includes
Every flashing repair starts with a full inspection of the joint and the surrounding roof, so you know what you are paying for before we start. Here is what is covered in a standard repair, and what we quote separately if we find it.
Full Joint Inspection
We check the flashing, the shingles around it, the deck underneath and the attic side if we can reach it. A moisture meter and infrared camera tell us how far the water traveled, so we fix the whole problem and not just the visible crack.
Tear-Out And Deck Check
We cut back the surrounding shingles and pull the old metal. Any soft or rotted sheathing gets replaced before new flashing goes down. Skipping this step is why so many flashing repairs fail within two winters.
New Flashing And Sealant
We set new metal over ice and water shield, fasten it correctly for the material, and seal every joint with roof cement. Copper, painted steel or membrane-compatible terminations depending on your roof type.
Hose Test And Cleanup
Before we leave we run water over the repair for ten minutes and watch it from the ground. Then we sweep the yard with a magnetic sweeper, bag the old metal, and take photos of the finished work for your records.
Written Warranty
You get a written workmanship warranty on the flashing repair plus the manufacturer warranty on the metal itself. If the same joint leaks inside the warranty window, we come back and fix it at no charge.
Service overview
What Roof Flashing Repair Surrey ND Actually Involves
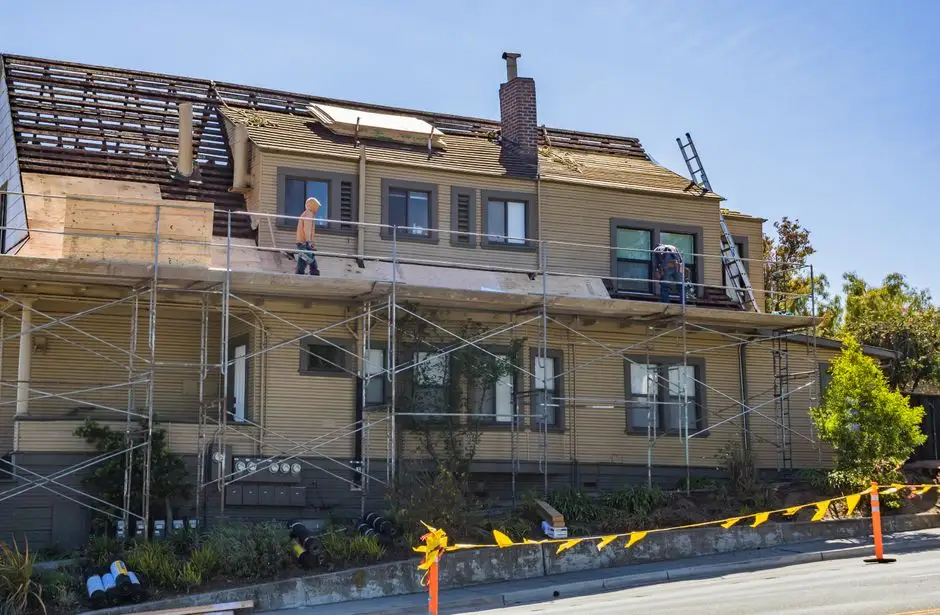
Roof Flashing Repair Surrey ND is the trade of resealing and rebuilding the metal that protects every roof penetration. Flashing is the L-shaped or layered metal that ties your shingles into a chimney, a vent pipe, a skylight, a valley or a wall. When it rusts through, lifts a nail, or loses its sealant, water walks straight under your shingles. We cut back the surrounding courses, pull the failed metal with a shingle ripper and pry bar, then set new flashing in roof cement and ice and water shield before we close it back up.
Most Surrey flashing failures show up after a hard freeze or a wind event. Water gets behind a lifted edge, freezes overnight, and pries the metal open another eighth of an inch. By spring you have a ceiling stain. We see this constantly on pipe boots and chimney flashing around Ward County, and it is the number one reason people search for a roof flashing fix near me Surrey in April. If you are looking for roof flashing repair near me Surrey ND, the fix is almost always a two to four hour job, not a full tear-off.
How we workWe verify the cause, compare realistic options, and confirm the repair before we leave.
The service timeline
How Our Flashing Repair Process Runs
The process flexes to the condition, but these checkpoints keep decisions clear.
Call And Book
You call, we ask three questions: where is the stain, when did it start, and has anyone been on the roof since. That tells us whether it is a flashing leak or a shingle problem before we ever climb. We book a same-day or next-morning slot and text you the window.
Roof Inspection
We walk the roof with a roofing ladder and safety harness, then check the suspect joint by hand. An infrared camera and moisture meter tell us how far the water traveled. You get a straight answer on the spot: reseal, rebuild, or replace the flashing entirely.
Tear Out And Prep
We cut back the shingles around the flashing with a utility knife and shingle ripper, then pull the old metal with a pry bar. The deck gets scraped clean, and any soft or rotted sheathing gets swapped before we go further. This is the step cheap crews skip, and it is why their repairs fail.
Rebuild And Seal
New flashing goes in over ice and water shield, set in roof cement and fastened with the right nails for the material. We use GAF and Owens Corning flashing components on shingle roofs and EPDM or TPO-compatible terminations on flat sections. Every joint gets sealed and smoothed by hand.
Test And Walk-Through
We run a hose test on the repaired joint for a full ten minutes while you watch from the ground. Then we sweep the yard with a magnetic sweeper for nails, take photos of the finished work, and hand you the warranty paperwork. Total time on site is usually two to four hours.
Tools & methods
Tools And Methods We Use
Purpose-built equipment, used by trained technicians, so the job is done accurately the first time.
Shingle ripper and pry bar
Used to lift the surrounding shingle courses without tearing them, so we can reach the flashing and put the roof back together cleanly.
Roofing nail gun
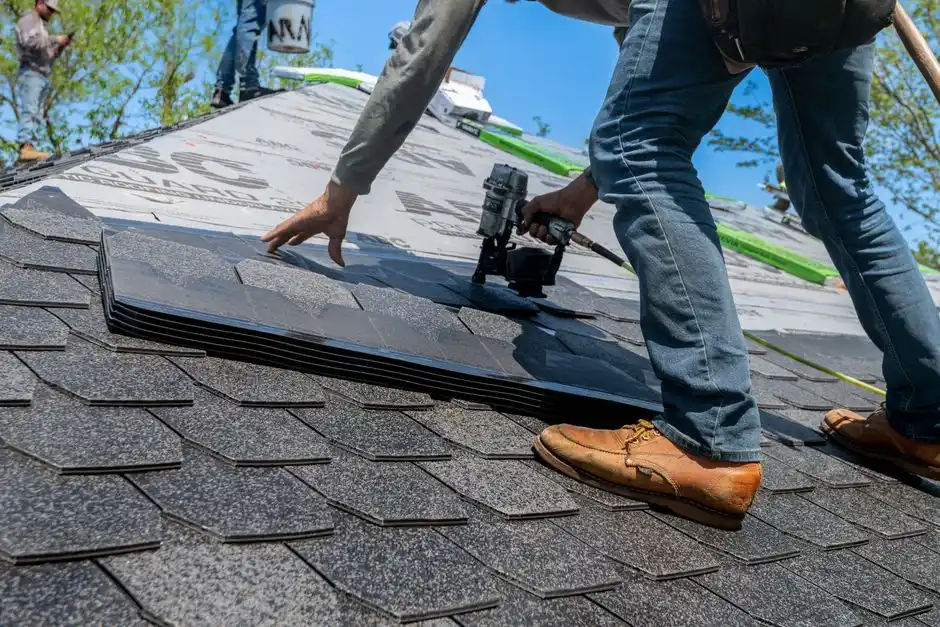
Re-nails the shingle field and ridge caps after a flashing repair. Correct nail depth and placement is what keeps the repair flat and wind-resistant.
Moisture meter and infrared camera
Finds how far water traveled under the deck before it shows on your ceiling. It tells us whether the leak is at the flashing or somewhere else entirely.
Caulking gun and roof cement
Seals every flashing joint and termination. We use the correct cement for the roof type, because the wrong one will crack within a season.
Roofing ladder and safety harness
Gets us on steep pitches safely and lets us work hands-free at the chimney or valley. Every crew member is tied off on any pitch over 6/12.
Magnetic sweeper
Runs the yard and driveway at the end of every job to pick up dropped nails. It is a small thing that saves tires and bare feet.
Chalk line and utility knife
Marks straight cut lines on shingles and membrane so the new flashing sits square and the repair looks intentional, not patched.
Use cases
When To Call For Flashing Work
These examples show how the service framework adapts rather than forcing every call through one repair.
Pipe Boot Swap In Cloverdale
A cracked rubber boot on a vent stack was dripping into the attic insulation every time it rained. The homeowner only noticed when a ceiling stain appeared in the hallway below. → We replaced the boot with a new collar sized to the pipe, resealed the base and re-nailed the surrounding shingles. The repair took under two hours, and the moisture meter read dry across the whole area afterward.
Valley Metal Replacement In South Surrey
A rusted valley was sending runoff out of the channel and soaking the deck on both sides. The gutter below was also backed up, which pushed water sideways under the drip edge. → We replaced the valley metal, re-laid the surrounding shingles, cleared the gutter and resealed the drip edge. The next heavy rain ran straight down the channel and out the downspout with no water tracking under the shingles.
Problems we solve
Flashing Problems We Solve In Surrey
Flashing failures look different depending on where they are and how old the roof is. These are the four we get called about most, and how we handle each one.
Ceiling stain that keeps coming back after rain
We trace the stain back to the nearest penetration, usually a chimney or pipe boot, and rebuild that flashing. A moisture meter confirms the deck is dry before we close it up, and we hose-test the repair so you can see it hold.
Rusted or lifted flashing around the chimney
We cut a new reglet into the brick, set fresh counter-flashing and rebuild the step flashing so the chimney and roof can move independently. That is the detail that stops chimney leaks for good, and it is what we do most in Surrey.
Cracked pipe boot on a vent stack
We replace the boot with a new collar sized to the pipe, reseal the base and check the vent is not loose. It is a fast, inexpensive fix, and we usually catch it during a routine roof inspection before it ever leaks.
Water tracking along a valley after heavy rain
We replace the valley metal, re-lay the surrounding shingles and seal the edges so water stays in the channel. We also check the drip edge and gutter below, because a backed-up gutter is often what pushed the water sideways in the first place.
Pricing process
What Flashing Repair Costs In Surrey
$250 - $700 depending on scope
Type of penetration
A pipe boot is a small, fast repair. A chimney rebuild involves cutting a reglet, new counter-flashing and more shingle work, so it sits at the higher end of the range. Skylight curbs and valleys fall in between.
Deck condition
If the sheathing under the flashing is soft or rotted, it has to be replaced before new metal goes down. That adds material and time, and we always show you the photo before adding it to the bill.
Roof pitch and access
A steep pitch or a high chimney means more setup, more safety gear and slower work. We tie off on anything over 6/12, and that time is built into the quote, not tacked on later.

How much does roof flashing repair cost in Surrey ND?
Most flashing repairs in Surrey run $250 to $700 in 2026, and a simple pipe boot reseal can land under $200. Chimney flashing rebuilds sit at the top of that range because they involve more tear-out and new metal. Price depends on how much shingle we have to cut back, whether the deck is soft, and how high the penetration sits. You get the number before we start.
What causes roof flashing leaks in Surrey North Dakota?
Freeze-thaw cycling is the big one here. Water gets behind a lifted flashing edge, freezes overnight, and pries the metal open a little more each winter. Add wind-driven rain and hail denting the metal, and the sealant eventually gives out. On older Surrey homes we also find flashing nailed tight against treated lumber, which corrodes the metal from the back side.
Can you repair roof flashing without replacing it in Surrey ND?
Yes, when the metal is still solid. If the flashing is rusted through or bent past flat, we replace that section only, not the whole roof. We cut back the surrounding shingles, swap the bad piece, and reset it over ice and water shield. That keeps the repair small and the cost down while still fixing the leak for good.
Is roof flashing repair in Surrey, North Dakota covered by insurance?
Storm and hail damage to flashing is usually covered under the dwelling portion of a homeowner policy, and we document the damage with photos for your claim. Wear-and-tear leaks from age are typically not covered. We will tell you straight which one you have before you file, so you are not opening a claim that goes nowhere.
Related services
Other Roof Work We Handle In Surrey
Roof Repair
Flashing is one part of a roof system. When we are up there we also check field shingles, ridge caps and valleys, and we fix what we find in the same visit. One trip, one invoice, no second crew.
Roof Leak Repair
Most leaks we trace back to flashing, but not all. If the water is coming from a nail pop or a cracked shingle, our leak repair service finds it with an infrared camera and seals it before it reaches your ceiling.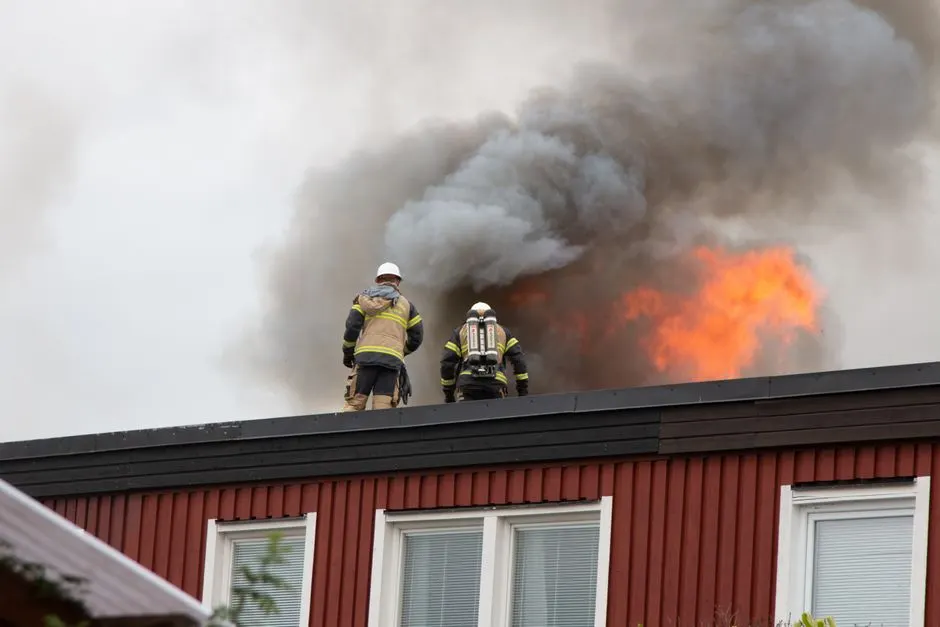
Emergency Roof Repair
Active leak during a storm? We tarp the flashing and the surrounding field the same day, then come back with the permanent repair once the weather clears. Call and we will get you on the schedule.Ready when you are
Get Your Roof Flashing Repair Surrey ND Booked
Water coming in today does not wait for next week. Call now and we will get a crew on your roof, find the joint that is leaking, and seal it before the next rain. State-licensed, insured and warrantied on every flashing repair in Surrey and Ward County.
Talk with the local team
Request Roof Flashing Repair
Call us at +18447100795 or email [email protected]. We answer the phone 24/7 for emergencies and schedule regular inspections within one business day. If you have photos of the damage, send them over and we can often give you a ballpark before we arrive.